Online Hearing Test
Introduction
Wondering if you might have hearing loss? The free hearing test below is a simple 3 step way to check your hearing easily from home with audiogram results. Do keep in mind that this test can not differentiate hearing loss due to nerve damage vs reversible hearing loss due to a hole in the eardrum, earwax, or middle ear fluid which do require both an exam and formal hearing test. Technically speaking, this online hearing test performs only an air conduction test. A formal hearing test would also include a bone conduction test.
The easiest way to determine whether you have a reversible conductive hearing loss from home is to perform the Rinne Tuning Fork Test.
This online hearing test was originally developed by Dr. Stephane Pigeon (the original online hearing test can be found here) who has graciously provided a license for us to offer this hearing test. Learn the background story here.
If you are a healthcare professional interested in online audiometry, check out our online audiometer to perform testing in your office or elsewhere!
Watch a video of how to accurately take this hearing test or read the instructions below!
** PLEASE NOTE! If you have any problems getting this webpage to work, please try using the Chrome browser instead and make sure javascript is enabled!
Quiet Room Check (Optional): Is Your Room Quiet Enough?
In order for a hearing test to provide reliable results, the testing environment must be quiet! The louder the environment, the greater the tendency for test results to show hearing loss where none should be present. This sound check ensures you are in a quiet enough room to accurately perform the online hearing test. In a home, the most quiet room typically would be inside a closet full of clothes. During this test, try not to make any noises for the duration of the test (about 5 seconds). Go ahead and press the blue button below for a rough measure (given differences in microphone sensitivity among different devices) of how quiet your environment is!
Room
If the testing environment showed either an excellent or good score, proceed to step 1. Otherwise, try to find a quieter room and repeat this step. One can still proceed with the hearing test even if the results show a poor score, but understand that the hearing test results may not be accurate. Want to know more about how these results were obtained and how you can calibrate the online sound meter specific to your device's microphone sensitivity? Check out our online sound meter page.
STEP 1: Calibrate Your Sound System
| Click Here! |
| Calibration File |
This calibration step is essential in order to obtain accurate hearing test results given testing is being done using non-standardized equipment (there are slight differences between headphones, computers, and sound environments). Using headphones (ideally a noise-cancelling headphone), listen to the calibration audio file. Then, without your headphones on, rub your hands together closely in front of your nose, quickly and firmly.
Keep adjusting the volume on your computer/device so that the sound volume from the calibration file through your headphones and your hands rubbing without headphones are equally loud. For most but not all devices, this volume level is typically found at about 75% of the maximum volume. Once matched, do NOT adjust the volume once testing begins in step 2. If equipment changes, calibration must be repeated.
If you are unable to hear the sound of your hands rubbing, there is no need to proceed with the hearing test as you are suffering from a severe hearing loss!
For greater calibration precision, one can use a sound meter (a decent one costs around $20) to ensure sound output from the headphones is 55±3 dB. You can watch a video of how to perform a headphone calibration using a sound meter.
STEP 2: Hearing Test
When you start the test, even if you do not hear anything, a warble tone IS present if the tone-playing icon appears. The tone stops playing when the sound icon disappears.
| Play Sample Tone |
 Not Selected |
 Selected Tone Playing |
 Tone Done Playing |
Look at the audio grid below. First, specify which ear (or both ears) you would like to test. Clicking on the BLUE button tests the left ear whereas the RED button tests only the right ear. In the same quiet room, begin the test by playing the first audio file in the top row. Keep moving down the same column one by one until you hear a warble tone at which point you stop and move on to the next column. Do this for all columns. To reiterate, stop with the audio file whose tone becomes just audible before switching to the next column. Once you complete one ear, repeat the entire test for the opposite ear.
Be sure to always start with the audio files at the top of the table! The bottom files play sounds very loudly and may cause significant ear discomfort for a normal hearing person.
Loading may take a handful of seconds.
If you tested one side, now test the opposite side by checking the appropriate BLUE "Test Left Ear" or RED "Test Right Ear" button immediately above the grid.
Step 3: Audiogram Results
Your hearing test results should appear on the audiogram below. If you have excellent hearing, all the symbols should be on the top of the graph in the zero range, though anything between 0 to 20 is considered normal hearing. The lower the results appear on the chart, the worse the hearing. Frequencies are plotted horizontally with low frequencies (250 Hz) on the left side and high frequencies (8K Hz) on the right. The blue "X" is your left ear hearing and the red "O" is your right ear hearing.
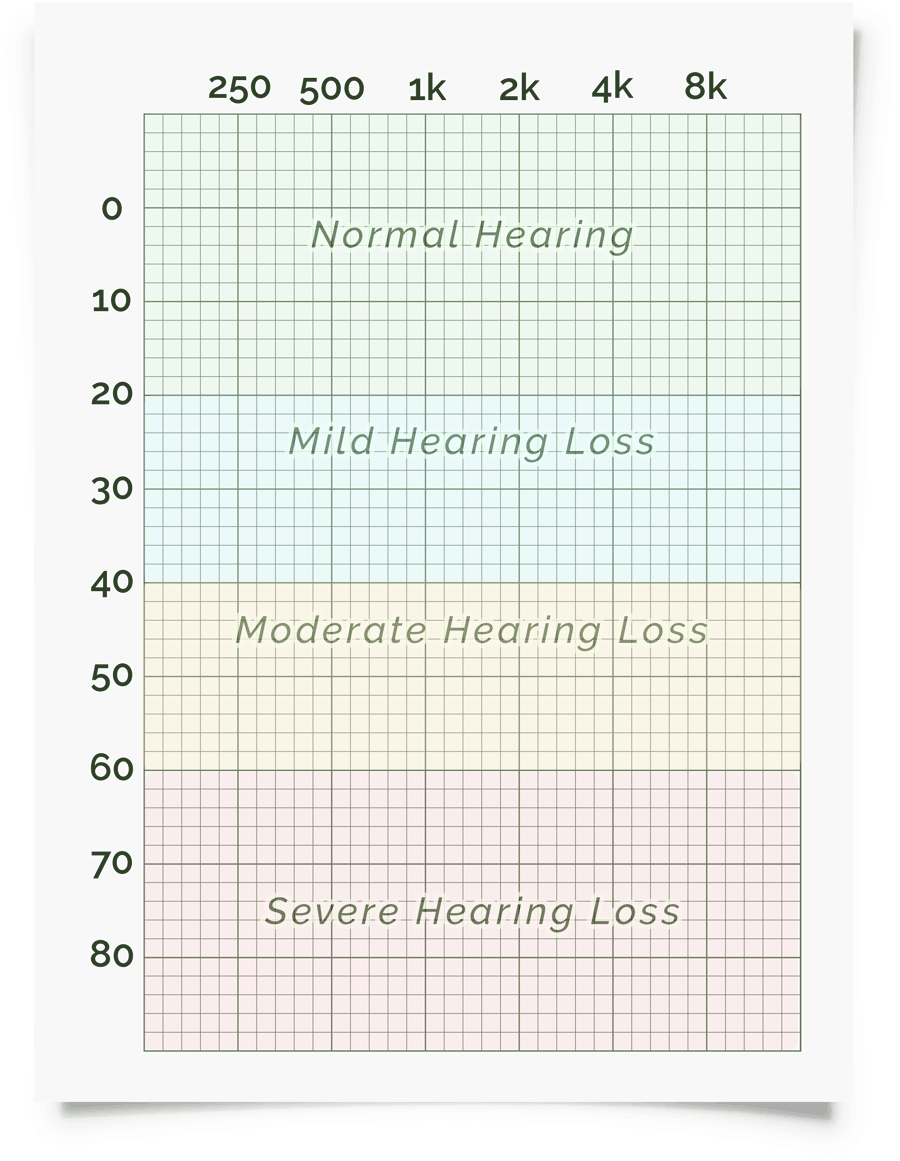
The 'Overlay' button adds further sound info within the audiogram.
The first overlay outlines an image known as the "speech banana" and describes the area within which different alphabetical sounds exist during regular talking. Vowels are located on the left green side while consonants are present within the right blue area. If your results are within or below the speech banana, conversational sounds will be either muffled or even completely inaudible causing an individual to either misunderstand part of or unable to understand any speech conversations.
The second overlay shows where everyday familiar sounds are present.
The "Clear Markers" button erases the test results and the test can be retaken anew.
Hearing loss between 20-60 dbHL (mild to moderate hearing loss) over 3 or more different frequencies benefit the most from hearing aids, with a few models now available over-the-counter to purchase even on Amazon. If severe hearing loss is present, it is best to see a professional audiologist or ENT in order to obtain hearing aids that satisfactorily work. Still confused? Here's more information on how to read an audiogram.
Alternatively, if you prefer to have one of our professionals provide a report interpreting your hearing test ($5 per test), click here.
Average hearing results by age and gender can be found here in case you want to compare your results to your peers. Wondering what percent hearing loss you have overall? Use the hearing loss calculator to determine your overall hearing loss score based on standardized equations.
We also offer 2 other types of hearing tests... one is a hearing test based on speech with and without background noise (SRT and WIN). The other is a basic hearing test, but utilizing pulsed tone sliders which sometimes give different results. Also, with your current hearing test results, age, and gender, there is now a way to even predict what your hearing loss may be like at some point in the future.
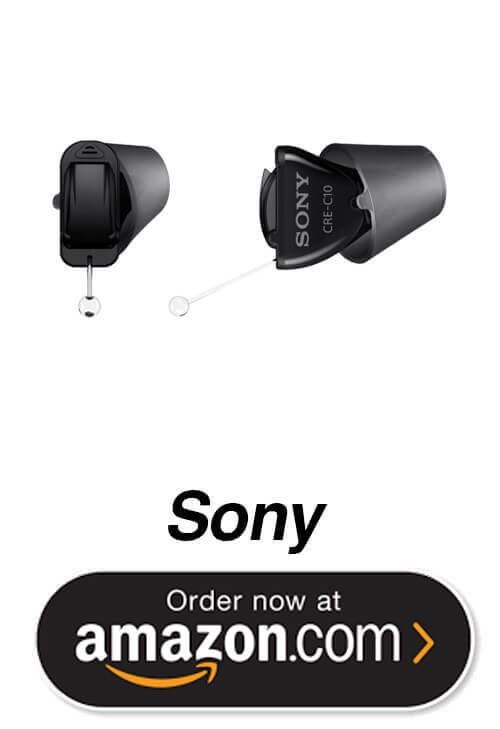
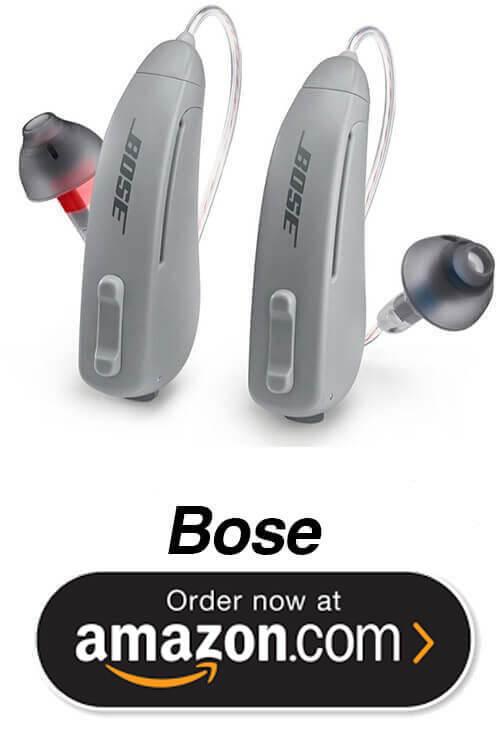
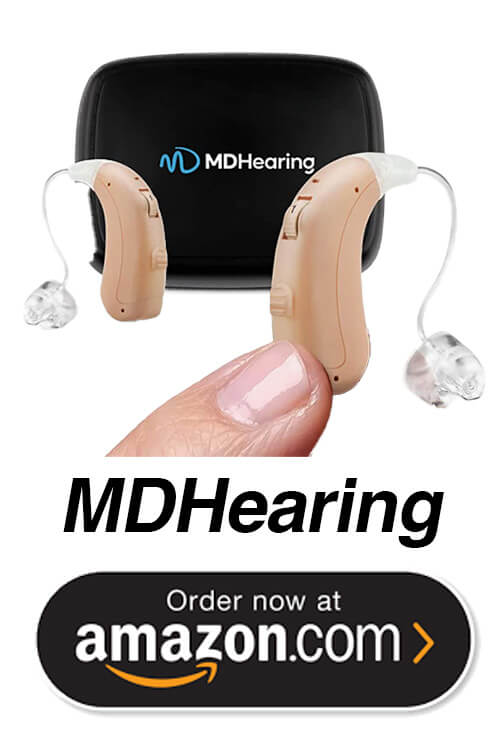
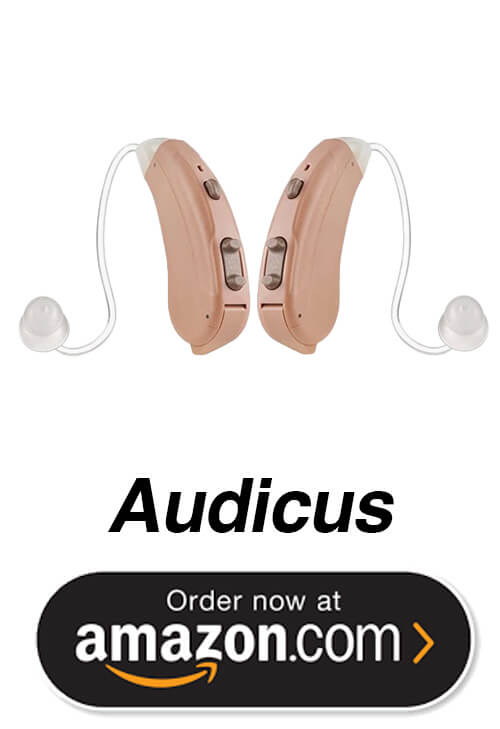
Top rated over-the-counter hearing aids on Amazon:
More ear related care products can be found in our online store! Such products include treatment for tinnitus, swimmer's ear, itchy ears, etc.
Step 4: When Should I See a Doctor?
Great question!
Unfortunately, the answer is it depends. For more information regarding the answer on when you should make an appointment to see a doctor...
Other Services
DISCLAIMER: An online hearing test runs in a completely uncontrolled environment (even with calibration) and will never replace the calibrated test performed in a sound proof booth with a professional audiologist.
LEGAL STUFF: The tones and code for the online hearing test have been licensed from Dr. Stephane Pigeon for use by Dr. Christopher Chang. Please do not copy any parts of this webpage. The code and tones have been watermarked to prevent unauthorized use in other websites.
TECHNICAL STUFF: The audio files are based on the ISO 389-7:2005 international standard and use third octave band warble tones in order to minimize room and headphone resonance. ISO 389-7:2005 is the standard recommended by the British Society of Audiology as it does not rely on a particular type of headphone.
Need help? Contact Support
Any information provided on this website should not be considered medical advice or a substitute for a consultation with a physician. If you have a medical problem, contact your local physician for diagnosis and treatment. Advertisements present are clearly labelled and in no way support the website or influence the contents. Please note that as an Amazon Associate, we may earn small commissions from qualifying purchases from Amazon.com.

